

There are several ways you can go about creating your NURBS helix curve in Maya; I will demonstrate the two easiest ones.
For advanced users, and people that like to figure stuff out by themselves, here are the two techniques in a nutshell:
You can either create a straight Nurbs Curve, rebuild it and then make it into a helix by using Edit Curves -> Modify Curves -> Curl. That's straightforward, but unfortunately doesn't allow you to edit your helix later on, because there is no saved history.
The second technique involves making a polygon helix, selecting an edge and then use Modify -> Convert -> Polygon Edges to Curve. This is my favorite technique, because I can first adjust the parameters of the helix on the polygon model, and then change the height and radius of the helix after converting it to Nurbs, by utilizing the history node on the original polygon helix.
Here are the steps outlined in a more detailed manner:
Option 1: The Curled Curve
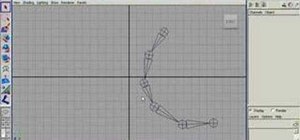
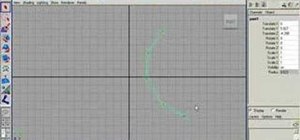
- Go to Create -> CV Curve Tool or EP Curve Tool.
- Click in the orthographic viewport of your choice, draw a straight line by clicking several times while holding the Shift Key. When finished, hit Enter.
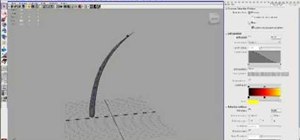
- Go to Edit Curves -> Rebuild Curve -> Options (the little square). Make sure the degree is set to 3 Cubic and change the number of spans to something high like 32 or 64, but you can always adjust those later.
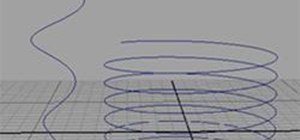
- Go to Edit Curves -> Modify Curves -> Options. Set a Curl frequency and Curl amount and hit Apply. If you don't like the outcome, undo and try different settings. If your curve just looks wavy, but not helix-like, increase the Curl Amount.
Warnings
- Be aware that with the above technique, you will not be able to change the parameters of your helix after creation, since the history of the Curl command doesn't get saved with the object.
Option 2: The Polygon Detour
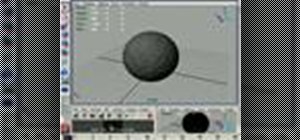
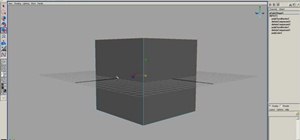
Step 1 Create a Polygon Helix
Create a Polygon Helix (Create -> Polygon Primitives -> Helix).
It's best to go into the Options Menu first, since some of the parameters for the helix can be set only there, even though most appear later on in the Creation History in the Channel Box. Adjust the parameters until you are more or less happy with your helix shape.
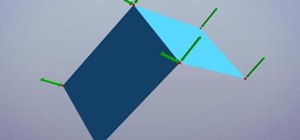
Step 2 Select a Continuous Edge on Your Polygon Helix
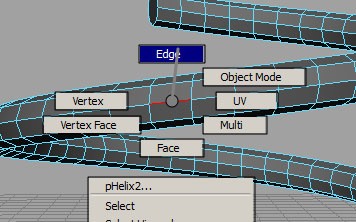
- Right-click on the helix and select "Edge" from the marking menu.
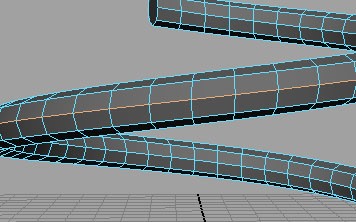
- Double-click on the edge with your Select or Move Tool.
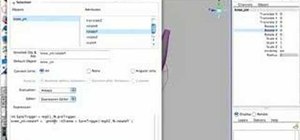
Step 3 Convert the Polygon Edge to a NURBS curve
- Go to Modify -> Convert -> Polygon edge to NURBS Curve -> Options Menu.
- Leave Form at "best guess" and make sure the Degree is set to "3 Cubic". Hit Apply and you should now see your NURBS curve helix appear.
Tips
- Note that when you now select the original polygon helix, you can still adjust most helix creation parameters in the Channel Box and the NURBS helix will update accordingly.
Please like my page on Facebook for updates on tutorials, and to see my work:
Just updated your iPhone? You'll find new emoji, enhanced security, podcast transcripts, Apple Cash virtual numbers, and other useful features. There are even new additions hidden within Safari. Find out what's new and changed on your iPhone with the iOS 17.4 update.


Be the First to Comment
Share Your Thoughts